Setup IEM Virtual in VMware ESXi Server
Log in to the VMware ESXi server with a user account that has rights to create and manage virtual machines. Once logged in, follow these steps:
-
From the Virtual Machines navigator option, click
Create / Register VMto create the IEM Virtual VM.
-
In the New virtual machine window, select "Deploy a virtual machine from an OVF or OVA file". Click
Next.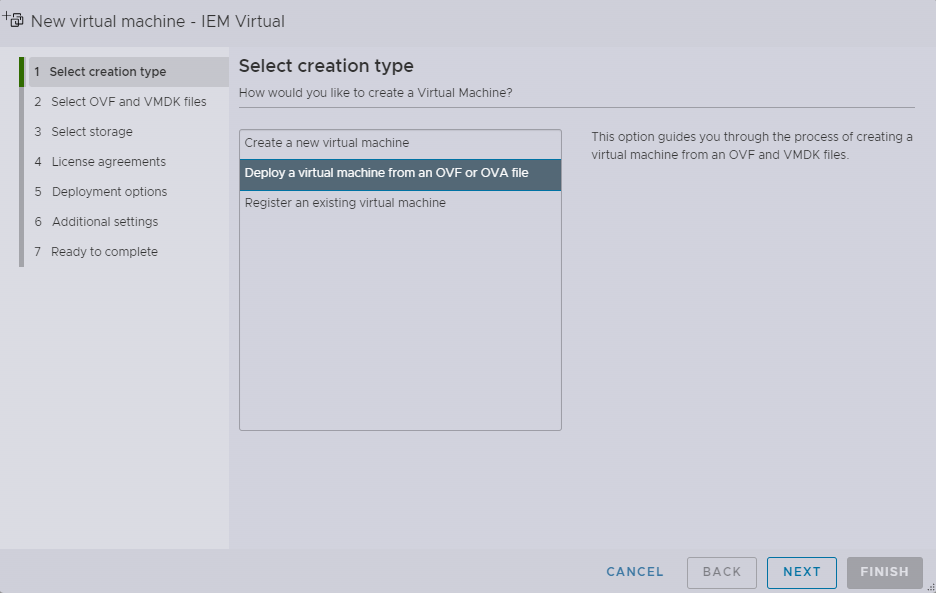
-
Set the VM name, select the OVA package file and click
Next.
-
On the Select storage window, choose a datastore if different from the default and click
Next.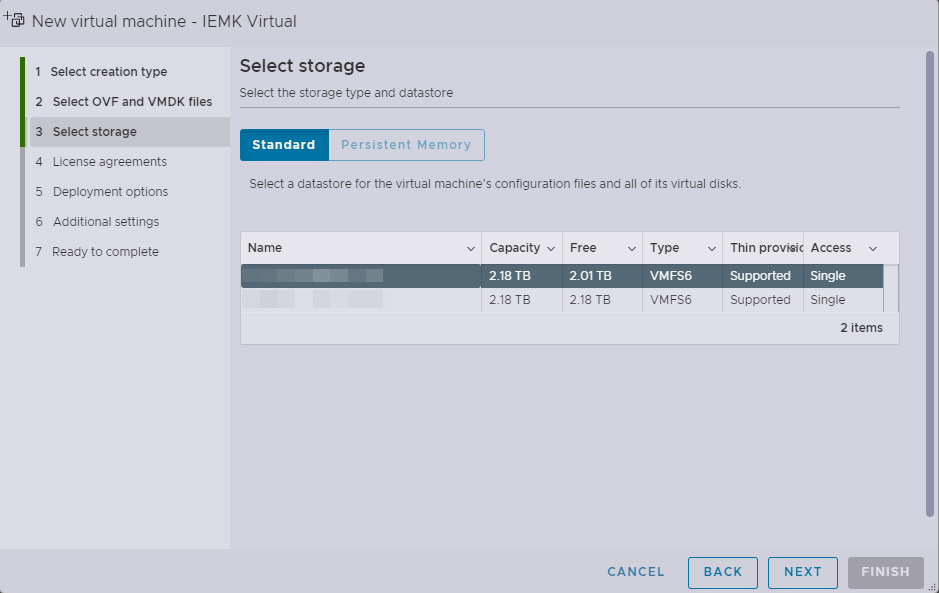
-
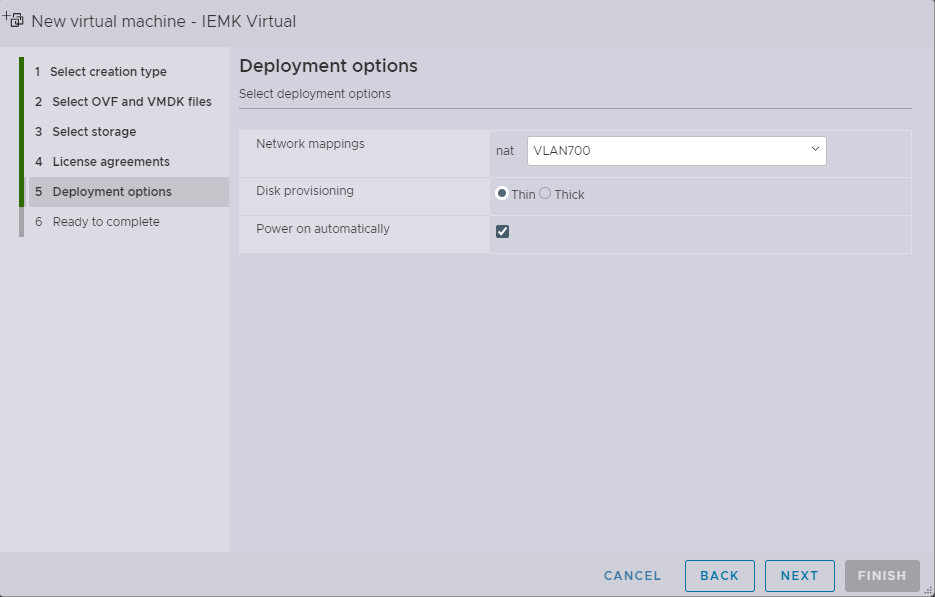
On the Deployment options window:
- Choose a Network mapping, if different from default.
- Leave the Disk Provisioning option as Thin (this is required).
- Power on automatically option: if unchecked, the user will need to manually power on the VM after creation.
Once done, click
Next.
-
On the Ready to complete window, review the settings and then click
Finishto perform the import.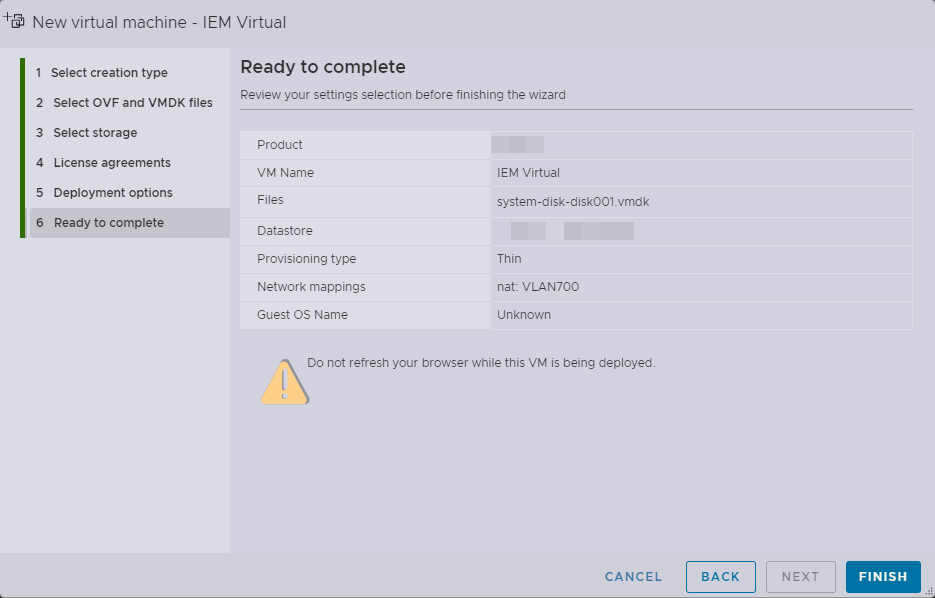
-
Once you click
Finish, the VM will start importing and show the import progress.
-
Once IEM Virtual powers on, it will automatically get an IP address from DHCP (Dynamic Host Configuration Protocol). The IP address can be found by selecting the Virtual Machine in the tab Virtual Machines. The detection can take a minute.
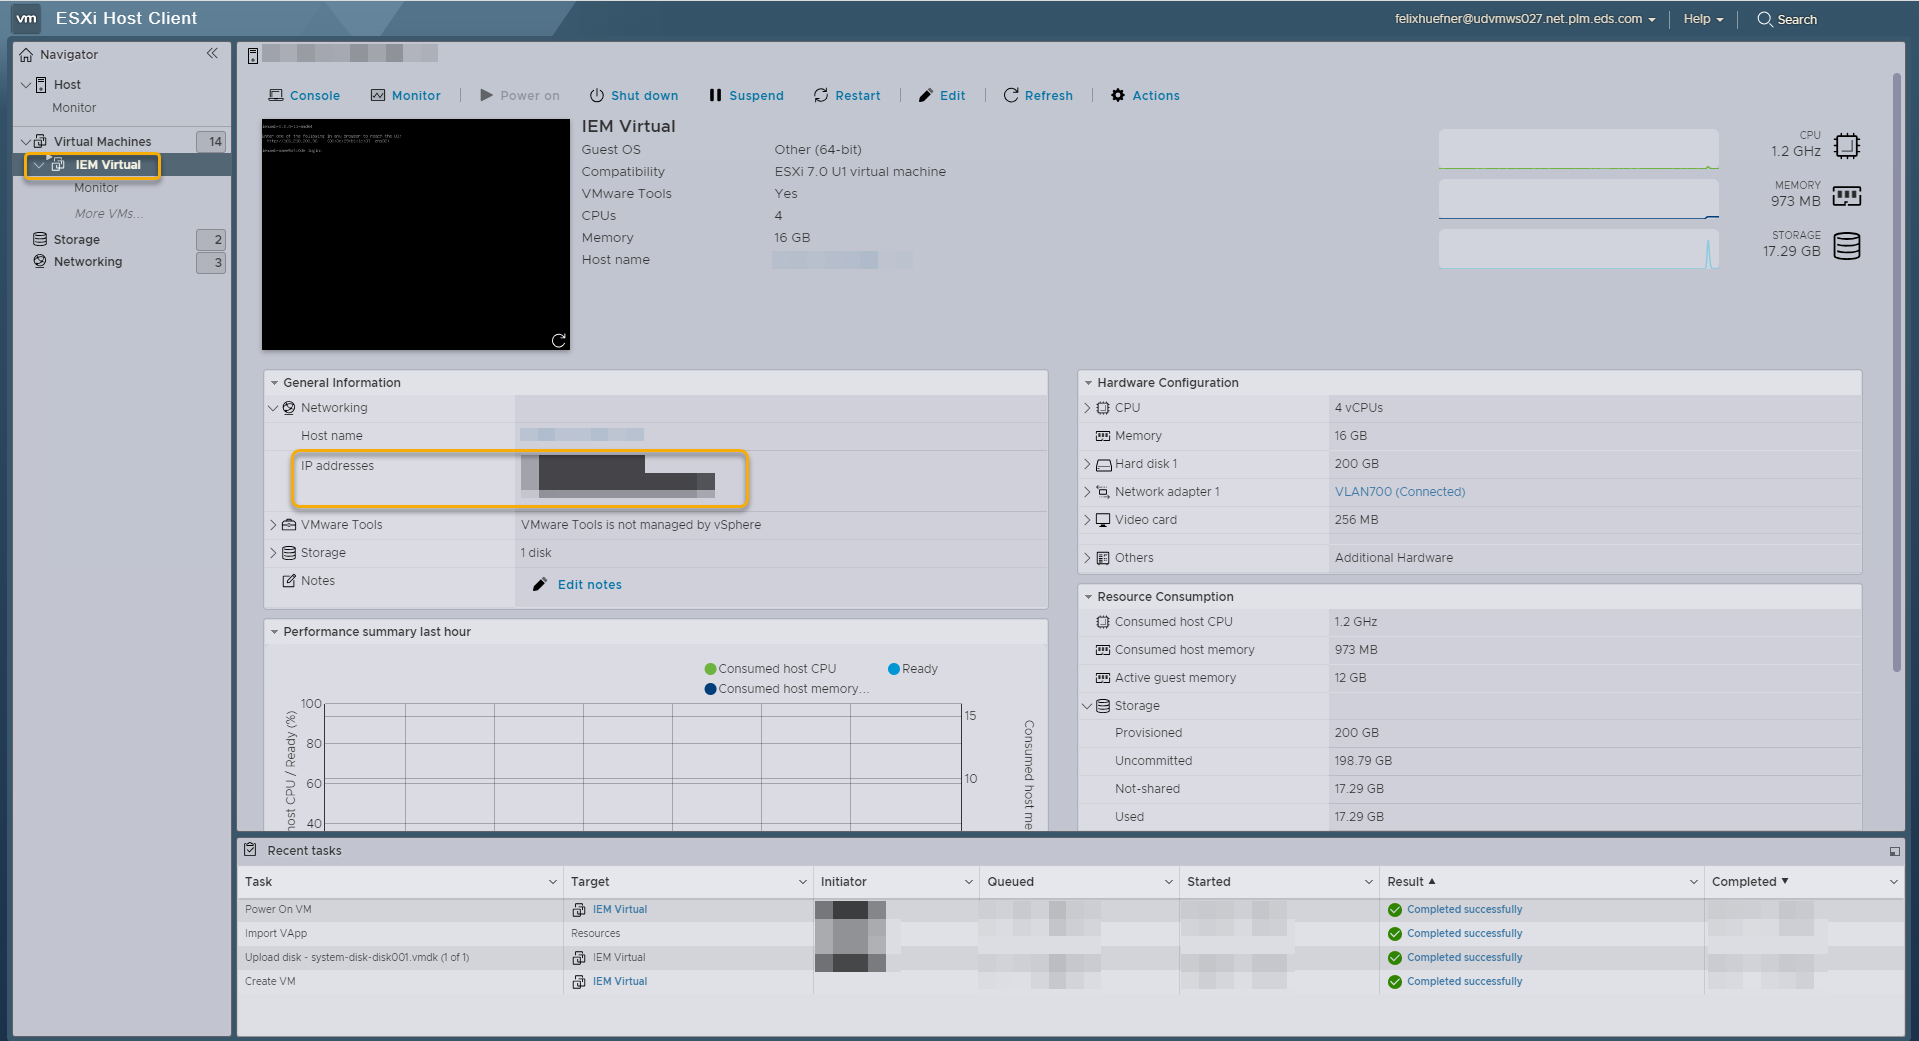 If there are no DHCP server available in the environment then a static IP address can be configured from Console so we can access the First Boot Wizard for further configurations. Proceed with the Setup network configuration from Console to setup static IP address.
 -
To access the IEM Virtual, open the browser and type
http:followed by the IP address. ClickEnter.
It will show that your connection is not private.
Click on theAdvancedbutton and accept the connection.
This is safe since self-signed SSL certificates are used. The user will have the choice to change this during the provisioning step.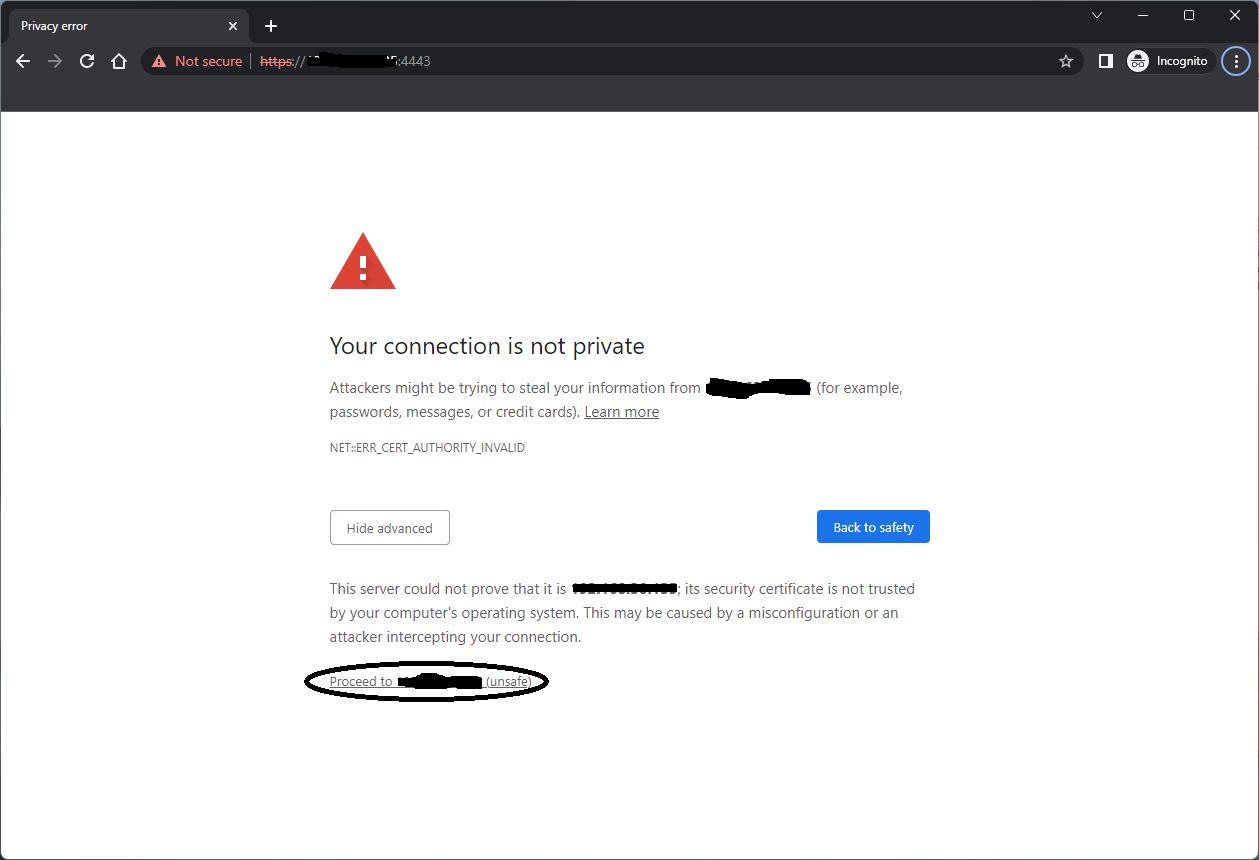
-
The IEM Virtual First Boot Wizard will look like this:
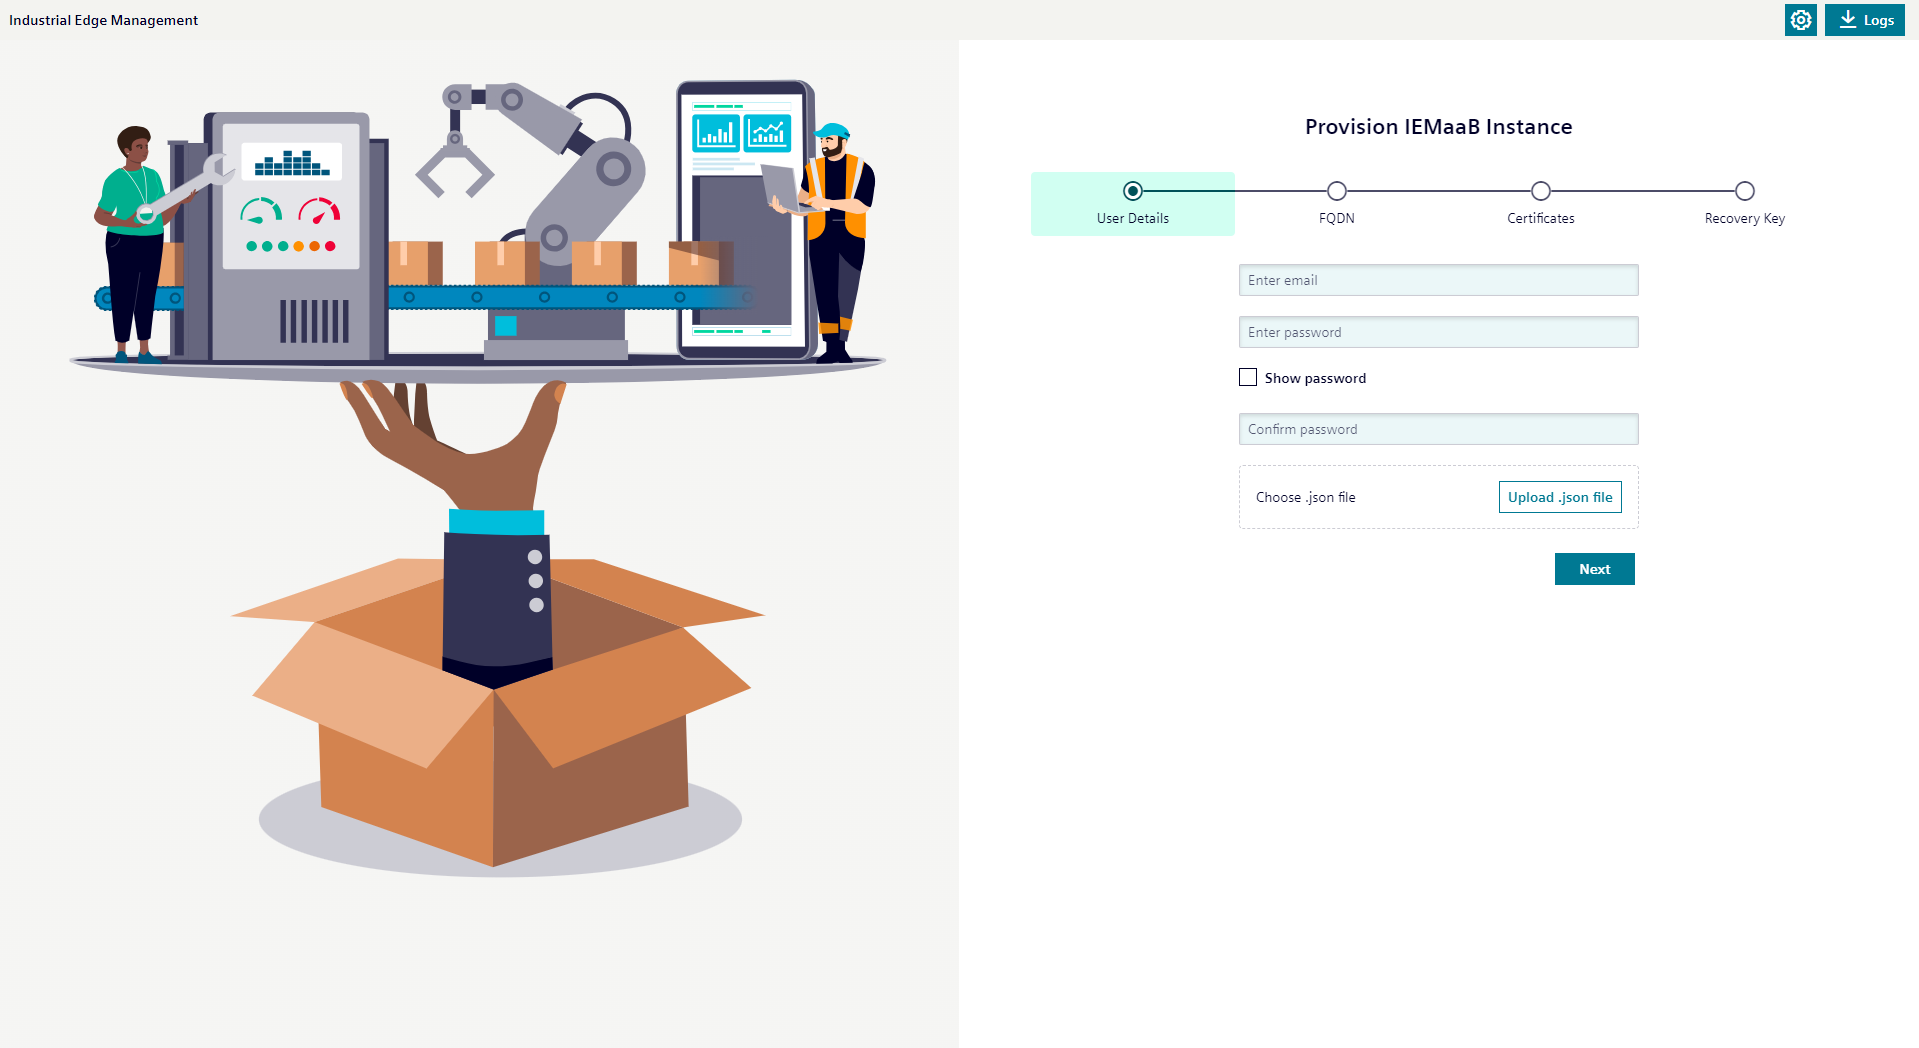
Proceed with the provisioning of the IEM Virtual instance.