Users
Adding New IEM User
In addition to the automatically created IEM user, you can add new IEM users.
To add a new IEM user, proceed as follows:
-
Go to the IEM url and log in using the customer_admin user, or any existing users with access to IAM:
https://<IEM-IP or HOSTNAME> -
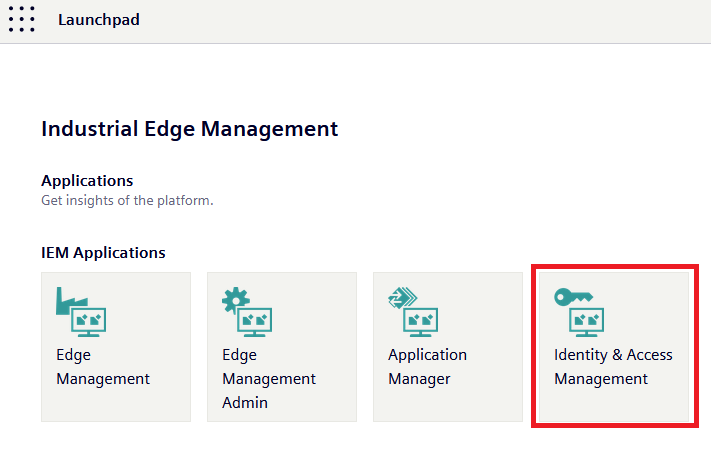
Once logged-in select the Identity & Access Management tile in the launchpad.
-
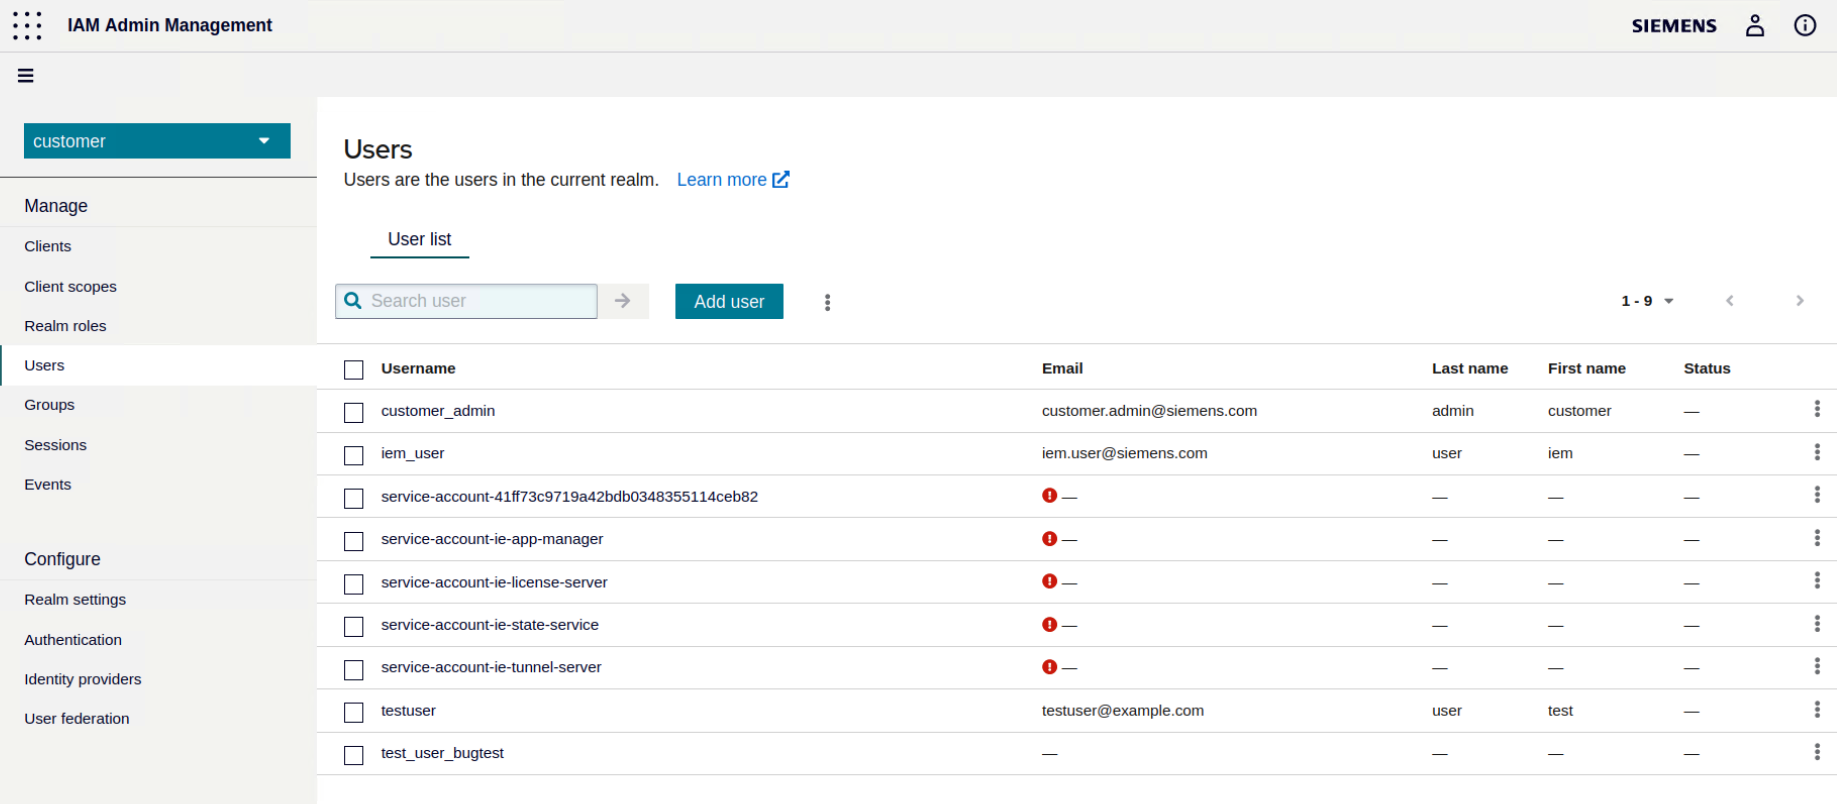
In the navigation on the left, click Users.
-
Click Add user.
-
Complete the user information as follows:
-
Username: Username of the new user
-
Email: E-mail address of the new user (optional but recommended)
-
First Name: First name of the new user (optional)
-
Last Name: Last name of the new user (optional)
-
Email Verified: ON
-
-
Click Create.
The new user has been created.
-
Navigate to the Credentials tab of the new user.
-
Under Set Password, enter a password of the user and confirm it.
You can send the password to the new user afterwards.
-
In the Temporary field, select ON.
With this option, the IEM user can log in with the set password but is prompted to change it afterwards.
-
Click Set Password and confirm.
The password of the new user has been set.
In order for a user to log in and use the IEM, the user must have a role.
see Assign role
The role can either be Admin or User.

Removing a user
To remove a IEM user, proceed as follows:
-
Go to the IEM url and log in using the customer_admin user, or any existing users with access to IAM:
https://<IEM-IP or HOSTNAME> -
Once logged-in select the Identity & Access Management tile in the launchpad.
-
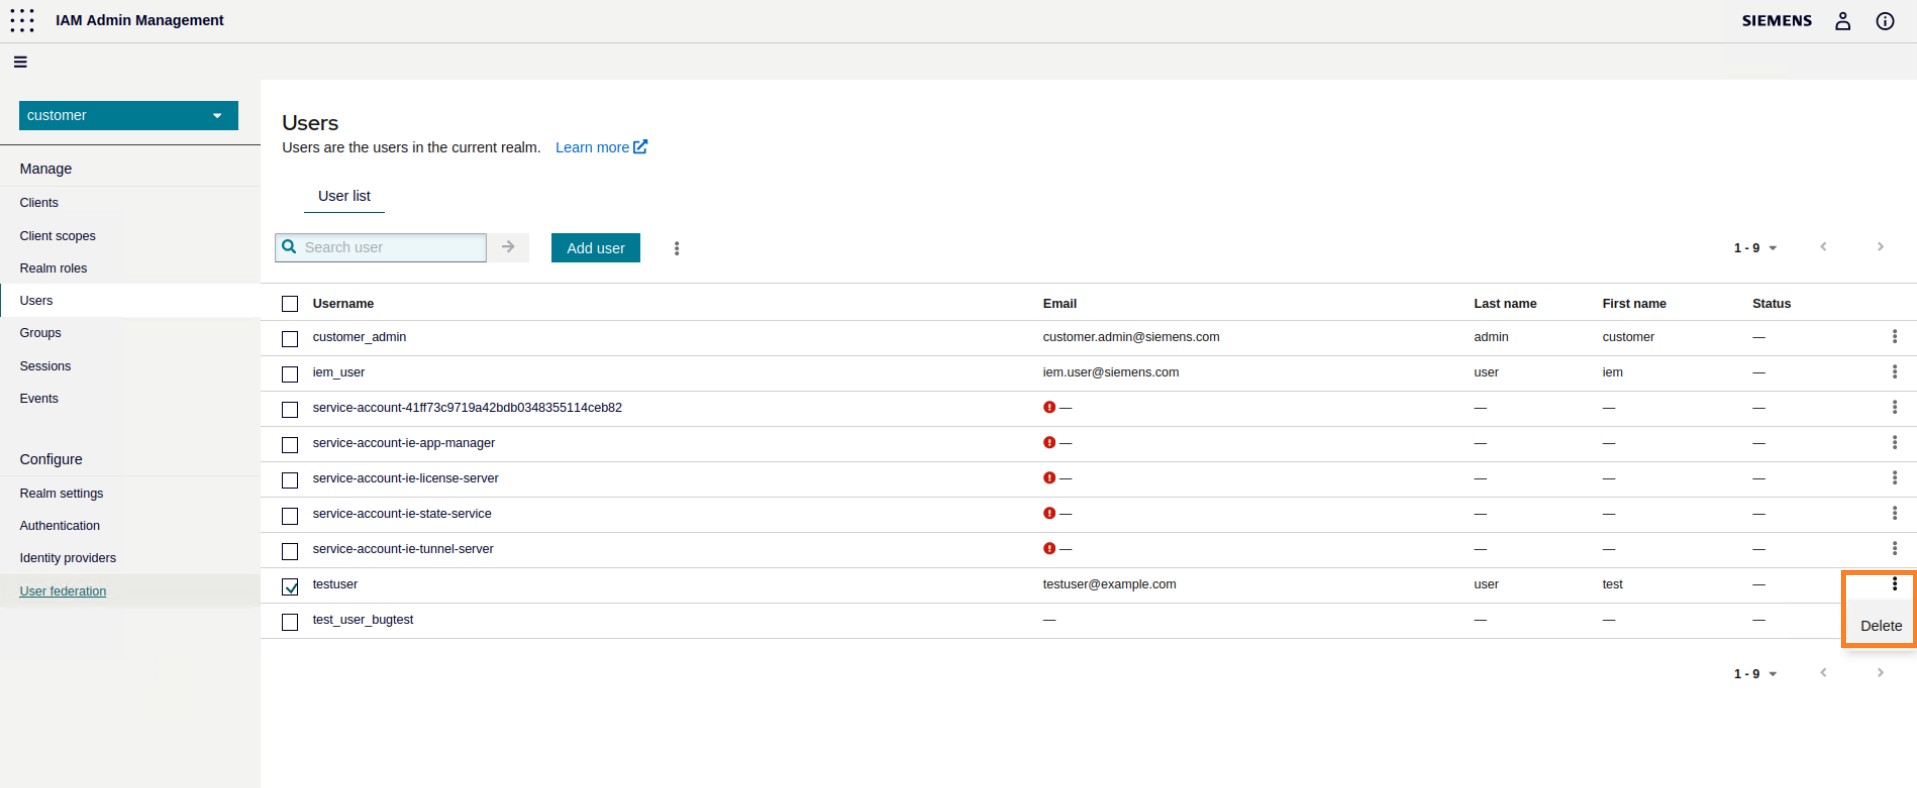
In the navigation on the left, click Users.
-
Select the user.
-
Click on Delete.
Warning
The resources of the deleted user will not be accessible, if not shared.
Role assignments
-
Navigate to the Role mapping tab of the new user.
-
Click Assign role and select in the Filter drop-down Filter by clients
-
Under Available Roles, you will find a client with automatically generated sequence of numbers. With Admin and User Role.
To assign dedicated roles to the created IEM user, use the available roles in the IEM.
-
Click Assign.
The respective roles has been assigned to the user.
Changing Password of a User
The following instructions describe the procedures that the Admin user must follow to change the password of IEM users.
Reset Password Manually
To manually reset an IEM user's password, proceed as follows:
-
Once logged-in select the Identity & Access Management tile in the launchpad.
-
In the navigation on the left, click Users.
A list with all users is displayed.
-
Click on the user whose password you want to change.
-
Navigate to the Credentials tab.
-
Click Reset Password, enter your new password and select OFF in Temporary field.
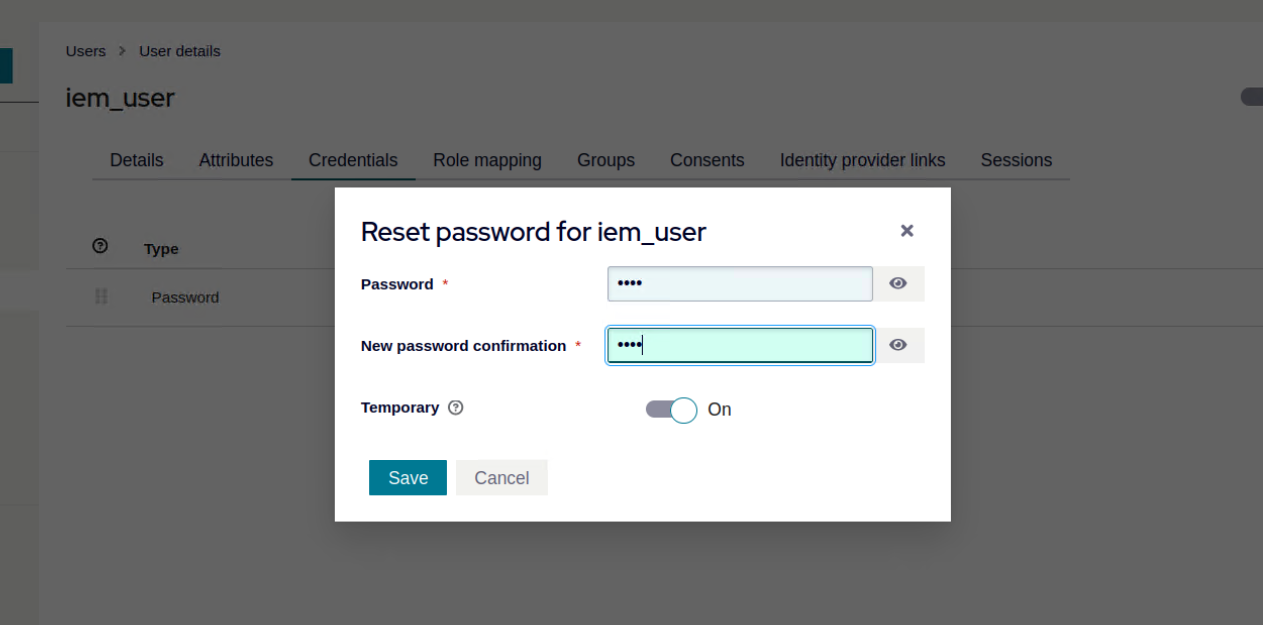
This option makes the new password permanent until it is changed again using these instructions.
-
Provide the changed password to the IEM user.
Send Reset Password Email
This option is only available, if you have configured an email server. In this case, you can send a reset password email to the user.
To send a reset password email, proceed as follows:
-
Reset the password of the user as described above (step 1. - 8.).
-
In the Credentials Tab, click Credential Reset

-
Set an expiry time.
-
Click Send email and confirm.
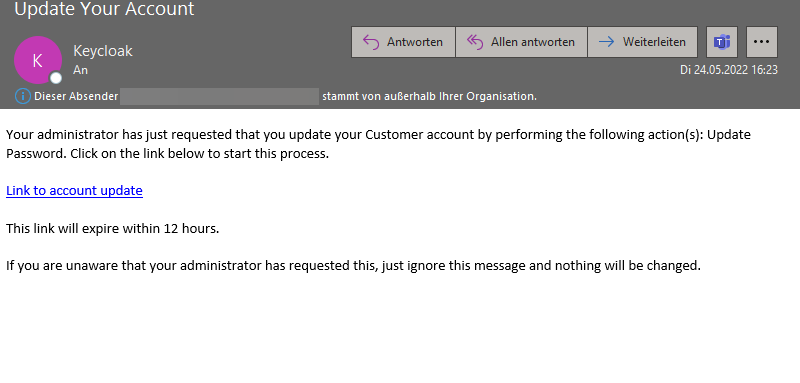
An email is sent to the user with instructions for the IEM user to reset the password.
Enable Forgot Password
If you have configured an email server, you can enable the Forgot password option. This will allow IEM users to change their password on the login page.
To enable the forgot password option, proceed as follows:
-
Go to the IEM url and log in using the customer_admin user, or any existing users with access to IAM:
https://<IEM-IP or HOSTNAME> -
Once logged-in select the Identity & Access Management tile in the launchpad.
-
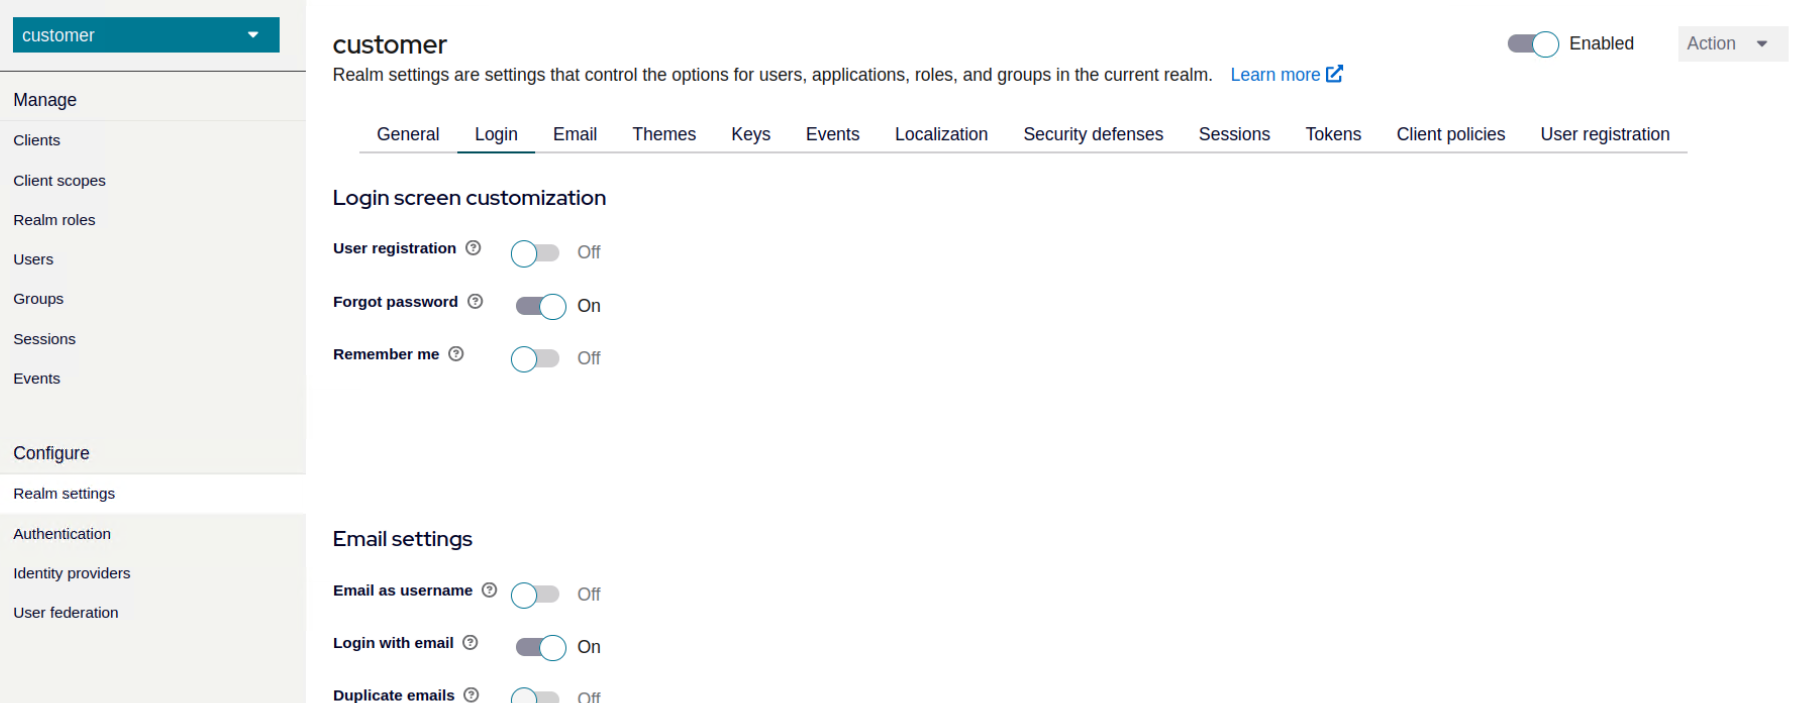
In the navigation, click Realm Settings.
-
Navigate to the Login tab.
-
Enable the Forgot password option.
IEM Groups
Create Groups
Log into the IEM https://<iem_ip>/pp/ and create a new group under Groups -> My User Groups or My Admin Groups.
Select the permissions you want to give the group and enter a name.
A role iem.<groupname>.<groupid> would be automatically generated in the customer realm corresponding to every group created. To give the user access to the group, assign this role to the user.

Note The user creating the group will automatically be assigned the new role. If it was a
My Admin Groupsdevices added to that group will also appear in the "Authorized Edge Devices" view for that user as long as the user has this role.
Remove groups
Log into the IEM https://<iem_ip>/pp/ and select the group under Groups -> My User Groups or My Admin Groups.
Click on Edit icon and then click on Delete.
How to recover a deleted role in keycloak
There is no way to restore a deleted role in Keycloak. You need to recreate the group.
To do this, open the Keycloak Admin Console at https://<iem_ip>/auth and log in as admin.
Select customer realm → Clients → ie-management → Roles → add role
and enter the name of the role and click save.
The role name follows this schema:
iem.<group name>.<group id>
You can then reassign the group to users to grant them the group permissions.
Group Name and Group ID
The user who originally created the group must log in and visit the following page.
https://<iem_ip>/p.service/api/v4/groups
It lists all the groups the user has created with their group names and ids. Check the list of groups for the one that corresponds to the deleted keycloak role.
